Posted by Nikita Namjoshi, Google Cloud Developer Advocate
in a local environment, using a . With tools like these, creating and experimenting with machine learning is becoming increasingly accessible. But while experimentation in notebooks is great, it’s easy to hit a wall when it comes time to elevate your experiments up to production scale. Suddenly, your concerns are more than just getting the highest accuracy score.
What if you have a long running job, want to do distributed training, or host a model for online predictions? Or maybe your use case requires more granular permissions around security and data privacy. What is your data going to look like at serving time, how will you handle code changes, or monitor the performance of your model overtime?
Making production applications or training large models requires additional tooling to help you scale beyond just code in a notebook, and using a cloud service provider can help. But that process can feel a bit daunting. Take a look at the full list of
The code used in this sample can be You’ll see how to deploy this model in the cloud and get predictions on a new flower image via a REST endpoint.
Note that you’ll need a Google Cloud project with billing enabled to follow this tutorial. If you’ve never used Google Cloud before, you can , which is Google Cloud’s managed machine learning platform. Vertex AI contains lots of different products that help you across the entire lifecycle of an ML workflow. You’ll use a few of these products today, starting with , select “Workbench”. Note that if this is the first time you’re using Vertex AI in a project, you’ll be prompted to enable the Vertex API and the Notebooks API. So be sure to click the button in the UI to do so.
Under Advanced Settings you can customize your notebook by specifying the machine type and location, adding GPUs, providing custom containers, and enabling terminal access. For now, keep the default settings and just provide a name for your notebook. Then click CREATE.
When you open the JupyterLab instance, you’ll see a few different notebook options. Vertex AI Workbench provides different kernels (TensorFlow, R, XGBoost, etc), which are managed environments preinstalled with common libraries for data science. If you need to add additional libraries to a kernel, you can use pip install from a notebook cell, just like you would in Colab.
You can upload the file to Workbench by clicking the “upload files” icon.
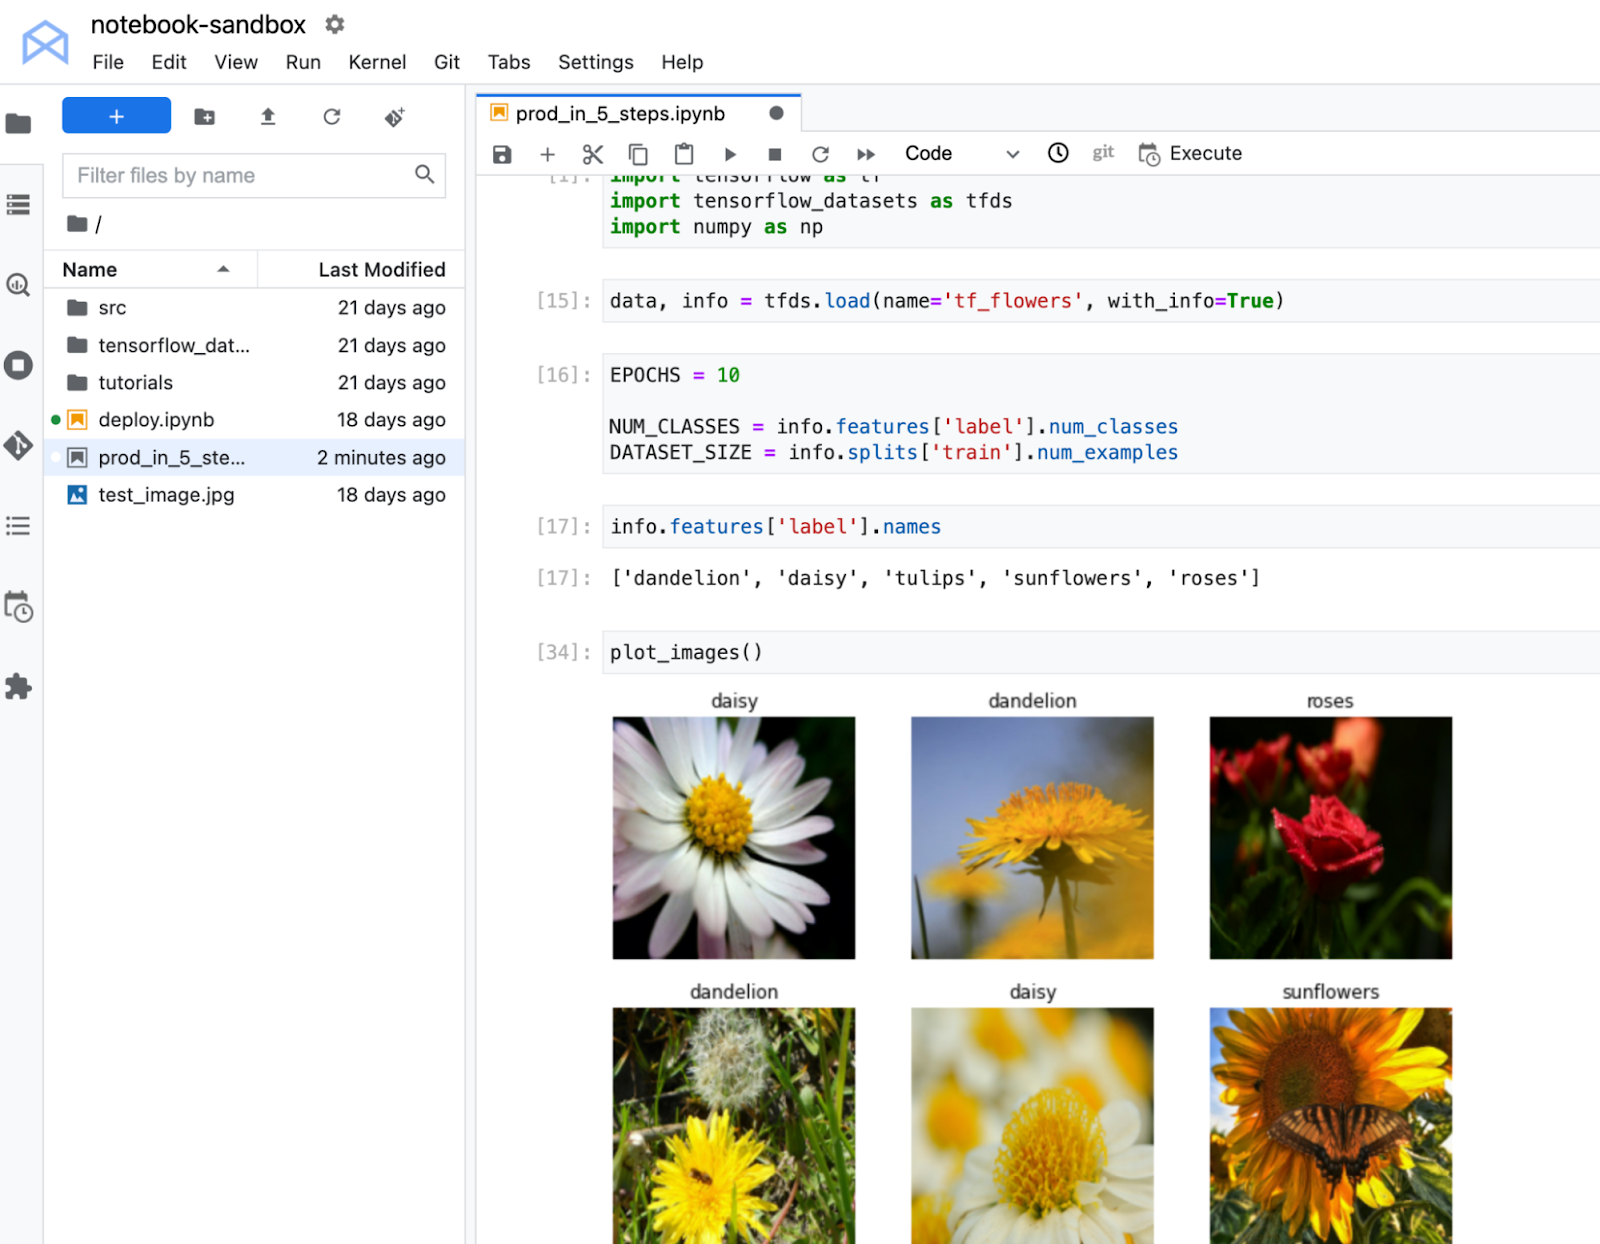
After you select the kernel, any cells you execute in your notebook will run in this managed TensorFlow environment. For example, if you execute the import cell, you’ll see that you can import TensorFlow, TensorFlow Datasets, and NumPy. This is because all of these libraries are included in the Vertex AI Workbench TensorFlow 2 kernel. Unsurprisingly, if you try to execute that same notebook cell in the XGBoost kernel, you’ll see an error message since TensorFlow is not installed there.
Launch a notebook execution
While we could run the rest of the notebook cells manually, for models that take a long time to train, a notebook isn’t always the most convenient option. And if you’re building an application with ML, it’s unlikely that you’ll only need to train your model once. Over time, you’ll want to retrain your model to make sure it stays fresh and keeps producing valuable results.
Manually executing the cells of your notebook might be the right option when you’re getting started with a new machine learning problem. But when you want to automate experimentation at a large scale, or retrain models for a production application, a managed ML training option will make things much easier.
The quickest way to launch a training job is through the , which is Google Cloud’s object storage, meaning you can store images, csv files, txt files, saved model artifacts. Just about anything.
Cloud storage has the concept of a “bucket” which is what holds your data. You can
Now we’re ready to launch the execution.
Select the Execute button, give your execution a name, then add a GPU. Under Environment, select the TensorFlow 2.7 GPU image. This container comes preinstalled with TensorFlow and many other data science libraries.
When the training completes you’ll be able to see the TensorFlow saved model artifacts in your bucket.
.from google.cloud import aiplatform
Then, upload your model to the for serving, and in this example we’re using the TensorFlow 2.8 image.
You’ll also need to replace artifact_uri with the path to the bucket where you stored your saved model artifacts. For me, that was “nikita-flower-demo-bucket”. You’ll also need to replace project with your project ID.
my_model = aiplatform.Model.upload(display_name='flower-model',
                                  artifact_uri='gs://{YOUR_BUCKET}',
                                  serving_container_image_uri='us-docker.pkg.dev/vertex-ai/prediction/tf2-cpu.2-8:latest',
                                  project={YOUR_PROJECT})
Then deploy the model to an endpoint. I’m using default values for now, but if you’d like to learn more about , be sure to check out the docs. Note that if your use case does not require low latency predictions, you don’t need to deploy the model to an endpoint and can use the
Get predictions
Now that this model is deployed to an endpoint, you can hit it like any other REST endpoint. This means you can integrate your model and get predictions into a downstream application.
For now, let’s just test it out directly within Workbench.
First, open a new TensorFlow notebook.
You can find your Project Number on the home page of the console. Note that this is different from the Project ID.
The code below opens and resizes the image with PIL, and converts it into a numpy array.
import numpy as np
from PIL import Image

IMAGE_PATH = 'test_image.jpg'

im = Image.open(IMAGE_PATH)
im = im.resize((150, 150))
Then, we convert our numpy data to type float32 and to a list. We convert to a list because numpy data is not JSON serializable so we can’t send it in the body of our request. Note that we don’t need to scale the data by 255 because that step was included as part of our model architecture using tf.keras.layers.Rescaling(1./255). To avoid having to resizing our image, we could have added tf.keras.layers.Resizing to our model, instead of making it part of the tf.data pipeline.
# convert to float32 list
x_test = [np.asarray(im).astype(np.float32).tolist()]
Then, we call call predict
endpoint.predict(instances=x_test).predictions
The result you get is the output of the model, which is a softmax layer with 5 units. Looks like class at index 2 (tulips) scored the highest.
[[0.0, 0.0, 1.0, 0.0, 0.0]]
Tip: to save costs, be sure to undeploy your endpoint if you’re not planning to use it! You can undeploy by going to the Endpoints section of the console, selecting the endpoint and then the Undeploy model form endpoint option. You can always redeploy in the future if needed.
What’s Next
You now know how to get from notebook experimentation to deployment in the cloud. With this framework in mind, I hope you start thinking about how you can build new ML applications with notebooks and Vertex AI.
If you’re interested in learning even more about how to use Google Cloud to get your TensorFlow models into production, be sure to register for the upcoming Google Cloud

SOCIAL SHARE CARD GENERATOR