Training and Deploying a Custom Detectron2 Model for Object Detection Using PDF Documents (Part 1: Training)
Making your machine learn how to see PDFs like a human

I have been trying for the better half of a year to solve a business case by making PDF documents machine readable, at least in the sense that headers/titles (text specifying a section) can be extracted from a document, along with their associated contents, thus forming some semblance of a relational data structure. Initially, I approached this by using a convolutional neural net (CNN), along with the combination of both a CNN and recurrent neural network (RNN), to classify the structure of a document using text and textual features (font, font size, weight, etc). A framework for this has been implemented by for detailed information.
If however you are a Windows user, this process will be a bit of a pain, but I was able to manage doing this on Windows myself.
Follow closely with the instructions data, the format we need our data in to train a Detectron2 model.
The local Detectron2 installation will be used in Part 2 of this article series, as we will be using an AWS EC2 instance later on in this article for Detectron2 training.
Detectron2 Custom Training — Annotation using LabelMe
For image annotation, we need two things: (1) the images we will be annotating and (2) an annotation tool. Assemble a directory with all the images you want to annotate, but if you are following along with my use case and would like to use PDF images, assemble a dir of PDFs, install the pdftoimage package:
pip install pdf2image
And then use the following script to convert each PDF page to an image:
import os
from pdf2image import convert_from_path

# Assign input_dir to PDF dir, ex: "C://Users//user//Desktop//pdfs"
input_dir = "##"
# Assign output_dir to the dir you’d like the images to be saved"
output_dir = "##"
dir_list = os.listdir(input_dir)

index = 0
while index < len(dir_list):

    images = convert_from_path(f"{input_dir}//" + dir_list[index])
    for i in range(len(images)):
        images[i].save(f'{output_dir}//doc' + str(index) +'_page'+ str(i) +'.jpg', 'JPEG')
    index += 1
Once you have a dir of images, we are going to use the LabelMe tool, see installation instructions . I refactored this script from on a GPU based instance would train the model in a matter of minutes.
To start, sign into the on the various instance types for your reference. We want to use a performance optimized instance, such as one from the P or G instance families. I used p3.2xlarge which comes with all the computing power, and more specifically GPU capabilities, that we will need.
PLEASE NOTE: instances from the P family will require you to contact AWS customer service for a quota increase (as they don’t immediately allow base users to access higher performing instances due to the cost associated). If you use the p3.2xlarge instance, you will need to request a quota increase to 8 vCPU.
- Specify a Key pair (login). Create this if you don’t already have one and feel free to name it p3key as I did.
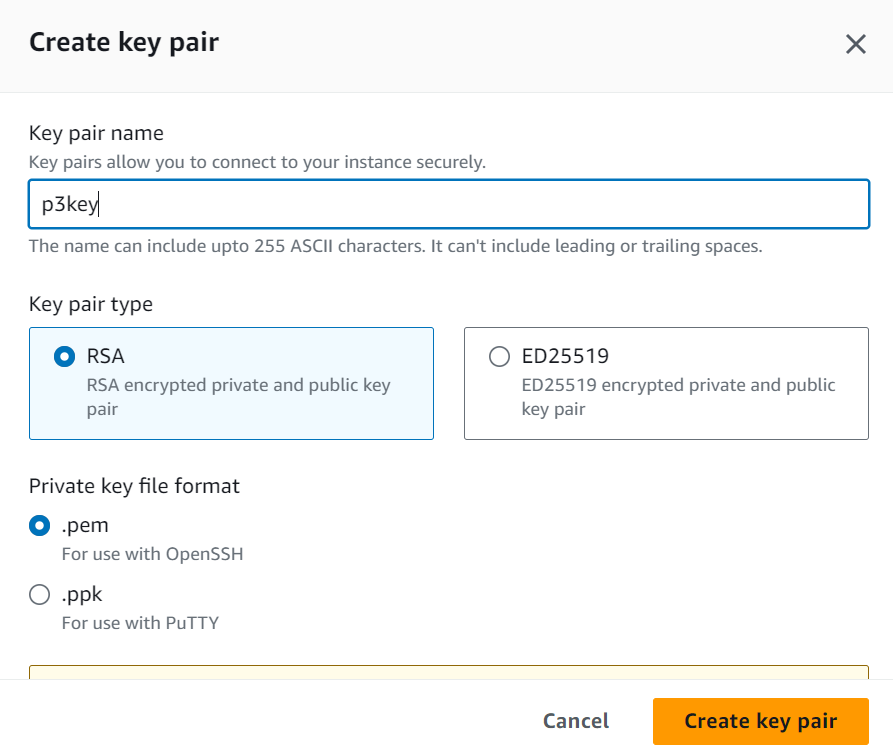
- Finally, Configure Storage. If you used the same AMI and Instance type as I, you will see a starting default storage of 45gb. Feel free to up this to around 60gb or more as needed, depending on your training dataset size in order to ensure the instance has enough space for your images.
Go ahead and launch your instance and click the instance id hyperlink to view it in the EC2 dashboard. When the instance is running, open a Command Prompt window and we will SSH into the EC2 instance using the following command (and make sure to replace the bold text with (1) the path to your .pem Key Pair and (2) the address for your EC2 instance):
ssh -L 8000:localhost:8888 -i C:\path\to\p3key.pem ubuntu@ec2id.ec2region.compute.amazonaws.com
As this is a new host, say yes to the following message:

And then Ubuntu will start along with a prepackaged virtual environment called PyTorch (from the AWS AMI). Activate the venv and start up a preinstalled jupyter notebook using the following two commands:

This will return URLs for you to copy and paste into your browser. Copy the one with localhost into your browser and change 8888 to 8000. This will take you to a Jupyter Notebook that looks similar to this:
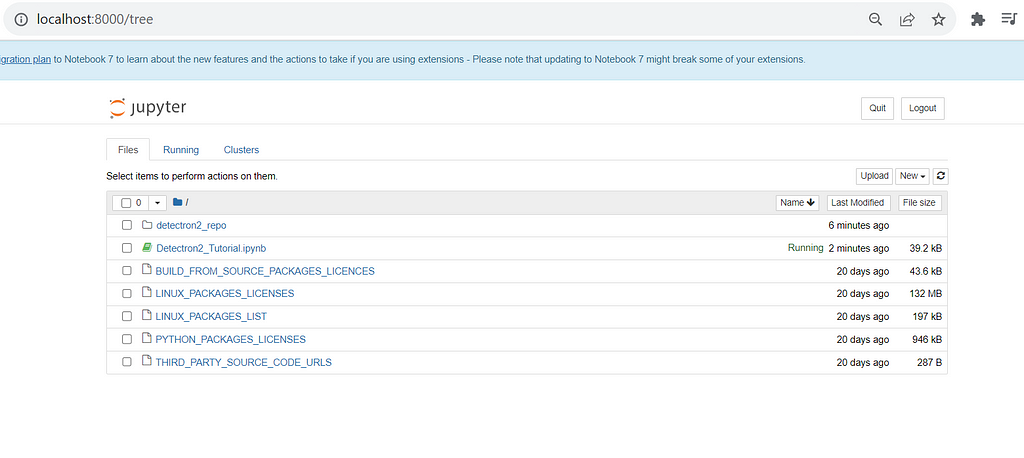
From . This provides the .ipynb files with configuration details for Detectron2 (see documentation was originally published in Towards Data Science on Medium, where people are continuing the conversation by highlighting and responding to this story.

SOCIAL SHARE CARD GENERATOR