Introduction
Applications with real-time features are a vital part of today's digital life.
Many everyday apps and services have integrated real-time features. Examples include instant messaging applications like Telegram which allows you to send and receive messages in real-time, and Google Meet, which enables you to make video calls with other people in real time.
These real-time features are very engaging and provide a great user experience.
In this tutorial, we'll explore how to build a real-time voting app with , and
Introduction to the technologies
Let's talk about the technologies we'll be using:
Strapi
Strapi is a popular headless CMS that allows us to customize the APIs it provides depending on the needs of our project and can be consumed by any frontend framework of our choice.
Instant DB
A real-time database service that makes it easy to store, manage, and sync data across multiple clients instantly. It provides real-time syncing of data across clients with minimal configuration, making it perfect for use cases like live voting, collaborative editing, and real-time messaging.
Next.js
This is our front-end framework of choice for this tutorial. It is a React-based framework with powerful features, including file-based routing, built-in CSS support, and API routes.
Prerequisites
Before we begin, make sure you have the following ready:
Basic JavaScript and and npm to run Strapi and Next.js.
Instant DB Account: Sign up for is recommended.
Step 1: Setting up Strapi 5
We'll start by creating the backend for our project using Strapi 5.
Create a central folder that will hold both the backend and frontend projects. Create a folder called voting.
mkdir voting
Then, we move into the folder:
cd voting
`
Create the Strapi project by running any of the commands below
`bash
yarn
yarn create strapi-app votes-api --quickstart
npx
npx create-strapi@latest votes-api
pnpm
pnpm create strapi votes-api
`
This command will take us through a few prompts:
`
Need to install the following packages:
Here, we'll enter our details to create a new admin user.
Next, we start creating fields for our new collection type.
- User:
- Type: Relation (Many-to-One)
- Name:
user
- Reference: User (from users-permissions)
- Type: Relation (Many-to-One)
Click on Finish to proceed.
Click on Save and the server will restart due to changes our configuration made in the codebase.
Creating the Option Collection Content Type
Click on the + Create new collection type option again and enter the configuration for the Option collection.
- Display Name:
option
With that, we can click on Finish. Then click on Save to save the collection type and restart the server.
Creating the Vote Collection Content Type
Click on the + Create new collection type option again and enter the configuration for the Vote collection.
- Display Name:
vote
Click on Save to save the Vote collection type and restart the server.
Allowing API access for Authenticated users
To make authenticated API calls, we'll need to edit the Authenticated role on the Users & Permissions plugn.
Navigate to Settings > Roles > Authenticated and in the Permissions, enable all permissions for Option, Poll, and Vote.
, Poll and User at Poll creation. You can learn more about
Here's the command line equivalent, make sure to add the Authoriaztion header:
`bash


curl  -X POST \


  'http://localhost:1337/api/polls?populate=*' \


  --header 'Accept: */*' \


  --header 'User-Agent: Thunder Client (https://www.thunderclient.com)' \


  --header 'Authorization: Bearer eyJhbGciOiJIUzI1NiIsInR5cCI6IkpXVCJ9.eyJpZCI6MiwiaWF0IjoxNzI3NjA2ODAxLCJleHAiOjE3MzAxOTg4MDF9.UudUAIcX8dMyqX-pqfRQKweQoDjqBavkjdLNYsYdQ0A' \


  --header 'Authorization: Bearer eyJhbGciOiJIUzI1NiIsInR5cCI6IkpXVCJ9.eyJpZCI6MiwiaWF0IjoxNzI3NjA2ODAxLCJleHAiOjE3MzAxOTg4MDF9.UudUAIcX8dMyqX-pqfRQKweQoDjqBavkjdLNYsYdQ0A' \


  --header 'Content-Type: application/json' \


  --data-raw '{


  "data": {


    "question": "Can the avengers beat the Gaurdians?"


  }


}'


`
Here's the response:
`json


{


  "data": {


    "id": 2,


    "documentId": "to5k2s0211nbrsn0vchvszaj",


    "question": "Can the avengers beat the Gaurdians?",


    "createdAt": "2024-09-29T12:06:07.605Z",


    "updatedAt": "2024-09-29T12:06:07.605Z",


    "publishedAt": "2024-09-29T12:06:07.617Z",


    "locale": null,


    "options": [],


    "votes": [],


    "localizations": []


  },


  "meta": {}


}


`
Notice, that despite adding the populate=* query parameter, the user relation field is not included in this response. We'll fix this later, but for now, If we check it out in the Strapi Admin, we should see the user who created the poll:
- strapi.documents to find an existing vote document created by the currently authenticated user and is connected to the specified poll. If a document is found, then the user has already submitted a vote for that poll and we return an error response.
Let's see it in action.
First, we create a new vote:
Awesome!
Returning User Relation Data in Poll Response
As we mentioned before, Strapi doesn't return the user relation data by defualt when we try populating the fields using the populate=* query parameter.
We have a few methods we can try to show this user relation data, let's quickly go over them.
- Enabling Authenticated Access to User Permissions Plugin
We'll have to navigate to Settings > Roles (Under Users & Permissions Plugin) > Public.
Here, we can scroll down to Users-permissions and enable count, find and findOne
but that seems to only work for entries created via the Strapi Admin dashboard.
- Customizing the Poll controller
That being said, our next solution could be to customize the default Poll controller at./src/api/poll/controllers/poll.ts:
`ts
// ./src/api/poll/controllers/poll.ts
/**
- poll controller
- This controller extends the default functionality for the poll API.
/
import { factories } from "@strapi/strapi";
// Export the customized poll controller
export default factories.createCoreController(
"api::poll.poll", // Define the controller for the "poll" API
({ strapi }) => ({
// Custom find method that retrieves multiple polls with additional user and vote data
async find(ctx) {
// Call the base "find" method from the core controller
const response = await super.find(ctx);
// For each poll in the response data, fetch related documents with detailed user and vote information
await Promise.all(
response.data.map(async (poll) => {
// Retrieve the poll document with populated fields for votes and user data
const pollDocument = await strapi
.documents("api::poll.poll") // Access the "poll" collection
.findOne({
documentId: poll.documentId, // Find by the poll's document ID
populate: {
votes: {
populate: {
option: {
fields: ["id", "value"], // Include "id" and "value" for each option
},
user: {
fields: ["id", "username", "email"], // Include "id", "username", and "email" for each user
},
},
},
user: {
fields: ["id", "username", "email"], // Include poll creator's "id", "username", and "email"
},
},
});
// Add the user details to the poll response
poll.user = {
id: pollDocument.user.id,
documentId: pollDocument.user.documentId,
username: pollDocument.user.username,
email: pollDocument.user.email,
};
// Assign the populated votes data to the poll
poll.votes = pollDocument.votes;
})
);
// Return the modified response with additional data
return response;
},
// Custom findOne method to retrieve a single poll by its ID with populated user and vote information
async findOne(ctx) {
// Call the base "findOne" method from the core controller
const response = await super.findOne(ctx);
// Fetch the poll document and its associated user and vote data
const pollDocument = await strapi.documents("api::poll.poll").findOne({
documentId: response.data.documentId, // Use the poll's document ID to find it
populate: {
votes: {
populate: {
option: {
fields: ["id", "value"], // Include vote option details
},
user: {
fields: ["id", "username", "email"], // Include user details for each vote
},
},
},
user: {
fields: ["id", "username", "email"], // Include poll creator's details
},
},
});
// Attach the user details to the response
response.data.user = {
id: pollDocument.user.id,
documentId: pollDocument.user.documentId,
username: pollDocument.user.username,
email: pollDocument.user.email,
};
// Attach the votes to the response
response.data.votes = pollDocument.votes;
// Return the modified response with user and vote information
return response;
},
})
);
`
Here, we have a custom controller for the "Poll*" API, built using thecreateCoreControllerfactory method.
We override two methods: find and findOne, which are responsible for fetching multiple polls and a single poll, respectively. Both methods extend the default functionality by using super , then we fetch additional details about the poll creator (user) and associated votes.
The find method iterates over all retrieved polls, retrieves user and vote data from the database, and populates this information into the poll objects. Similarly, the findOne method fetches detailed information about a specific poll's creator and its votes. By doing so, we have more comprehensive information available on the front end, such as user IDs, emails, and vote details.
In the next section, we'll dive into how we can integrate Instant DB into our API by customizing the Strapi backend.
Step 3: Setting up Instant DB
To get started with Instant DB, create a new account if you don't have one already at
You can go through the onboarding process to create your app:
To obtain your Admin secret key, navigate to the admin page by clicking on Admin at the side navigation:
. Run the following command in your terminal:
`


npm i @instantdb/admin


`
Go to your
Here's the response data:
`json
{
"jwt": "eyJhbGciOiJIUzI1NiIsInR5cCI6IkpXVCJ9.eyJpZCI6MiwiaWF0IjoxNzI3NjA2ODAxLCJleHAiOjE3MzAxOTg4MDF9.UudUAIcX8dMyqX-pqfRQKweQoDjqBavkjdLNYsYdQ0A",
"user": {
"id": 2,
"documentId": "s0z5llgt1cuitio2bv2u7ryz",
"username": "james",
"email": "[email protected]",
"provider": "local",
"confirmed": true,
"blocked": false,
"createdAt": "2024-09-29T10:46:41.898Z",
"updatedAt": "2024-09-29T10:46:41.898Z",
"publishedAt": "2024-09-29T10:46:41.899Z",
"locale": null
},
"instantdbToken": "659f0759-c2bf-47ca-8818-380d6f2e241b"
}
`
Notice the additional `instantdbToken` property in the JSON response, we can use that to make authenticated Instant DB queries and writes in our frontend.


To login, send a POST request to `http://localhost:1337/api/auth/local` with the following body:
json
{
"identifier": "[email protected]",
"password": "Pass1234"
}
With that, we should have something like this:
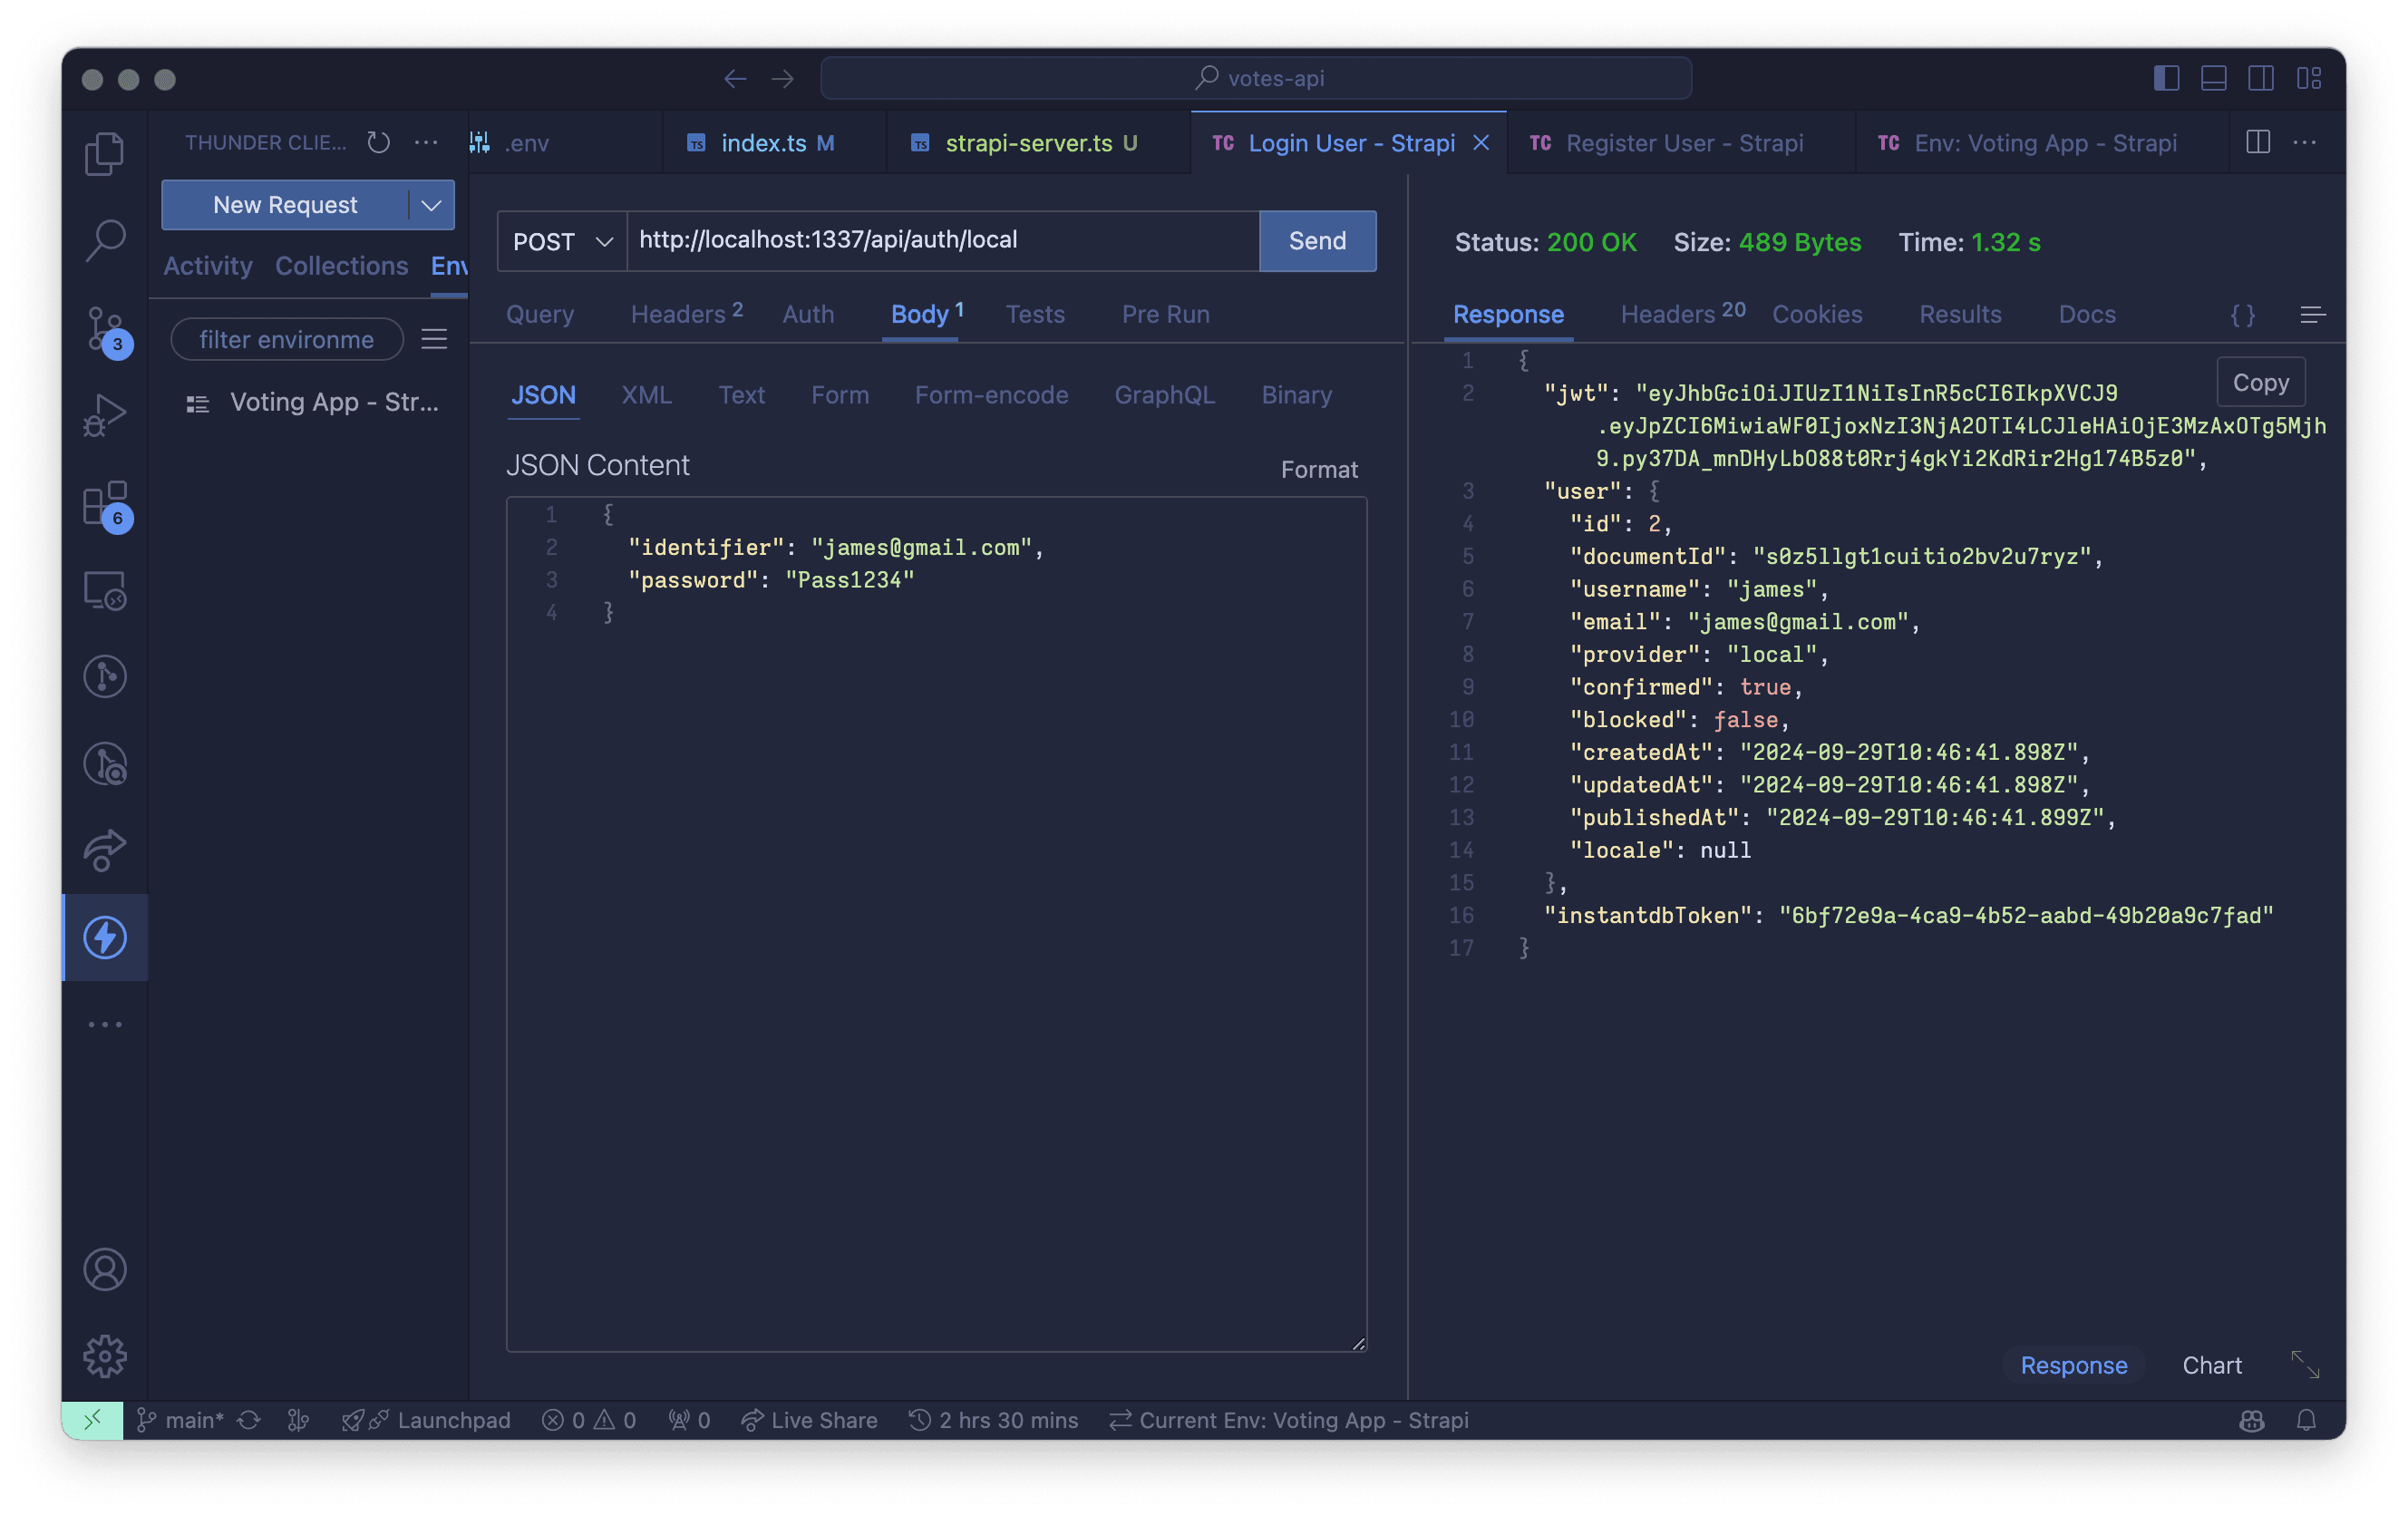
You can also see the token here as well.
### Creating Vote records on Instant DB
To create votes on Instant DB when the user submits a vote on the Strapi API, we'll use the `db.asUser()`and `transact` methods. In the `./src/api/vote/middlewares/on-vote-create.ts` file, add the following:
ts
// ./src/api/vote/middlewares/on-vote-create.ts
/**
on-vote-createmiddleware
This middleware executes logic when a new vote is created.
*/
import type { Core } from "@strapi/strapi";
import { db } from "../../..";
import { id, tx } from "@instantdb/admin";
export default (config, { strapi }: { strapi: Core.Strapi }) => {
// Add your own logic here.
return async (ctx, next) => {
strapi.log.info("In on-vote-create middleware.");
// ...
// Proceed to the next middleware or controller
await next();
// Retrieve the document ID of the new vote from the response body
const voteDocumentId = ctx.response.body.data.documentId;
// Retrieve the document data from the response body
const document = ctx.response.body.data;
// Create a new record in the InstantDB database for the vote
const res = await db
.asUser({
// Use the user's information to create the vote record
email: user.email,
})
.transact(
tx.votes[id()].update({
// Use the user's information to create the vote record
user: {
documentId: user.documentId,
username: user.username,
email: user.email,
},
// Use the poll and option information from the vote document
poll: {
documentId: document.poll,documentId,
question: document.poll.question,
},
// Use the option information from the vote document
option: {
documentId: document.option.documentId,
value: document.option.value,
},
// Use the creation timestamp from the vote document
createdAt: document.createdAt,
})
);
console.log("🟢🟢🟢🟢 ~ instantDB record created", res);
// ...
};
};
Here, we connect to Instant DB using the `db.asUser()` method, ensuring the vote is created in the database under the user’s identity. The `transact` function is used to update the votes collection on Instant DB, saving the vote’s details such as the user’s document ID, poll question, option value, and creation timestamp.
Now, if we send a request to create a vote, we should see something like this in our terminal:
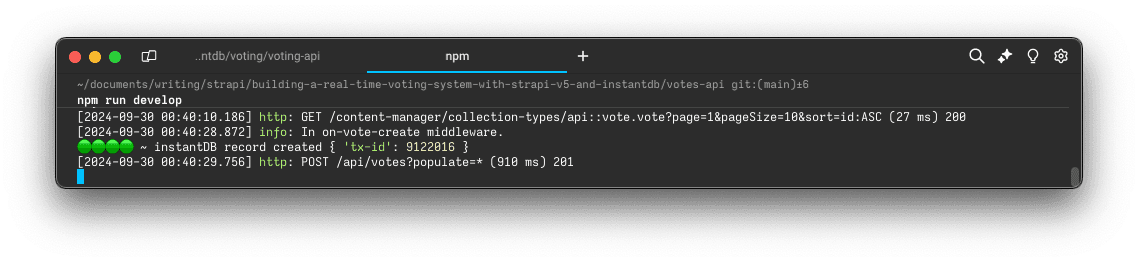
Great. Now, if we check our Instant DB dashboard, we should see the records we've created so far:
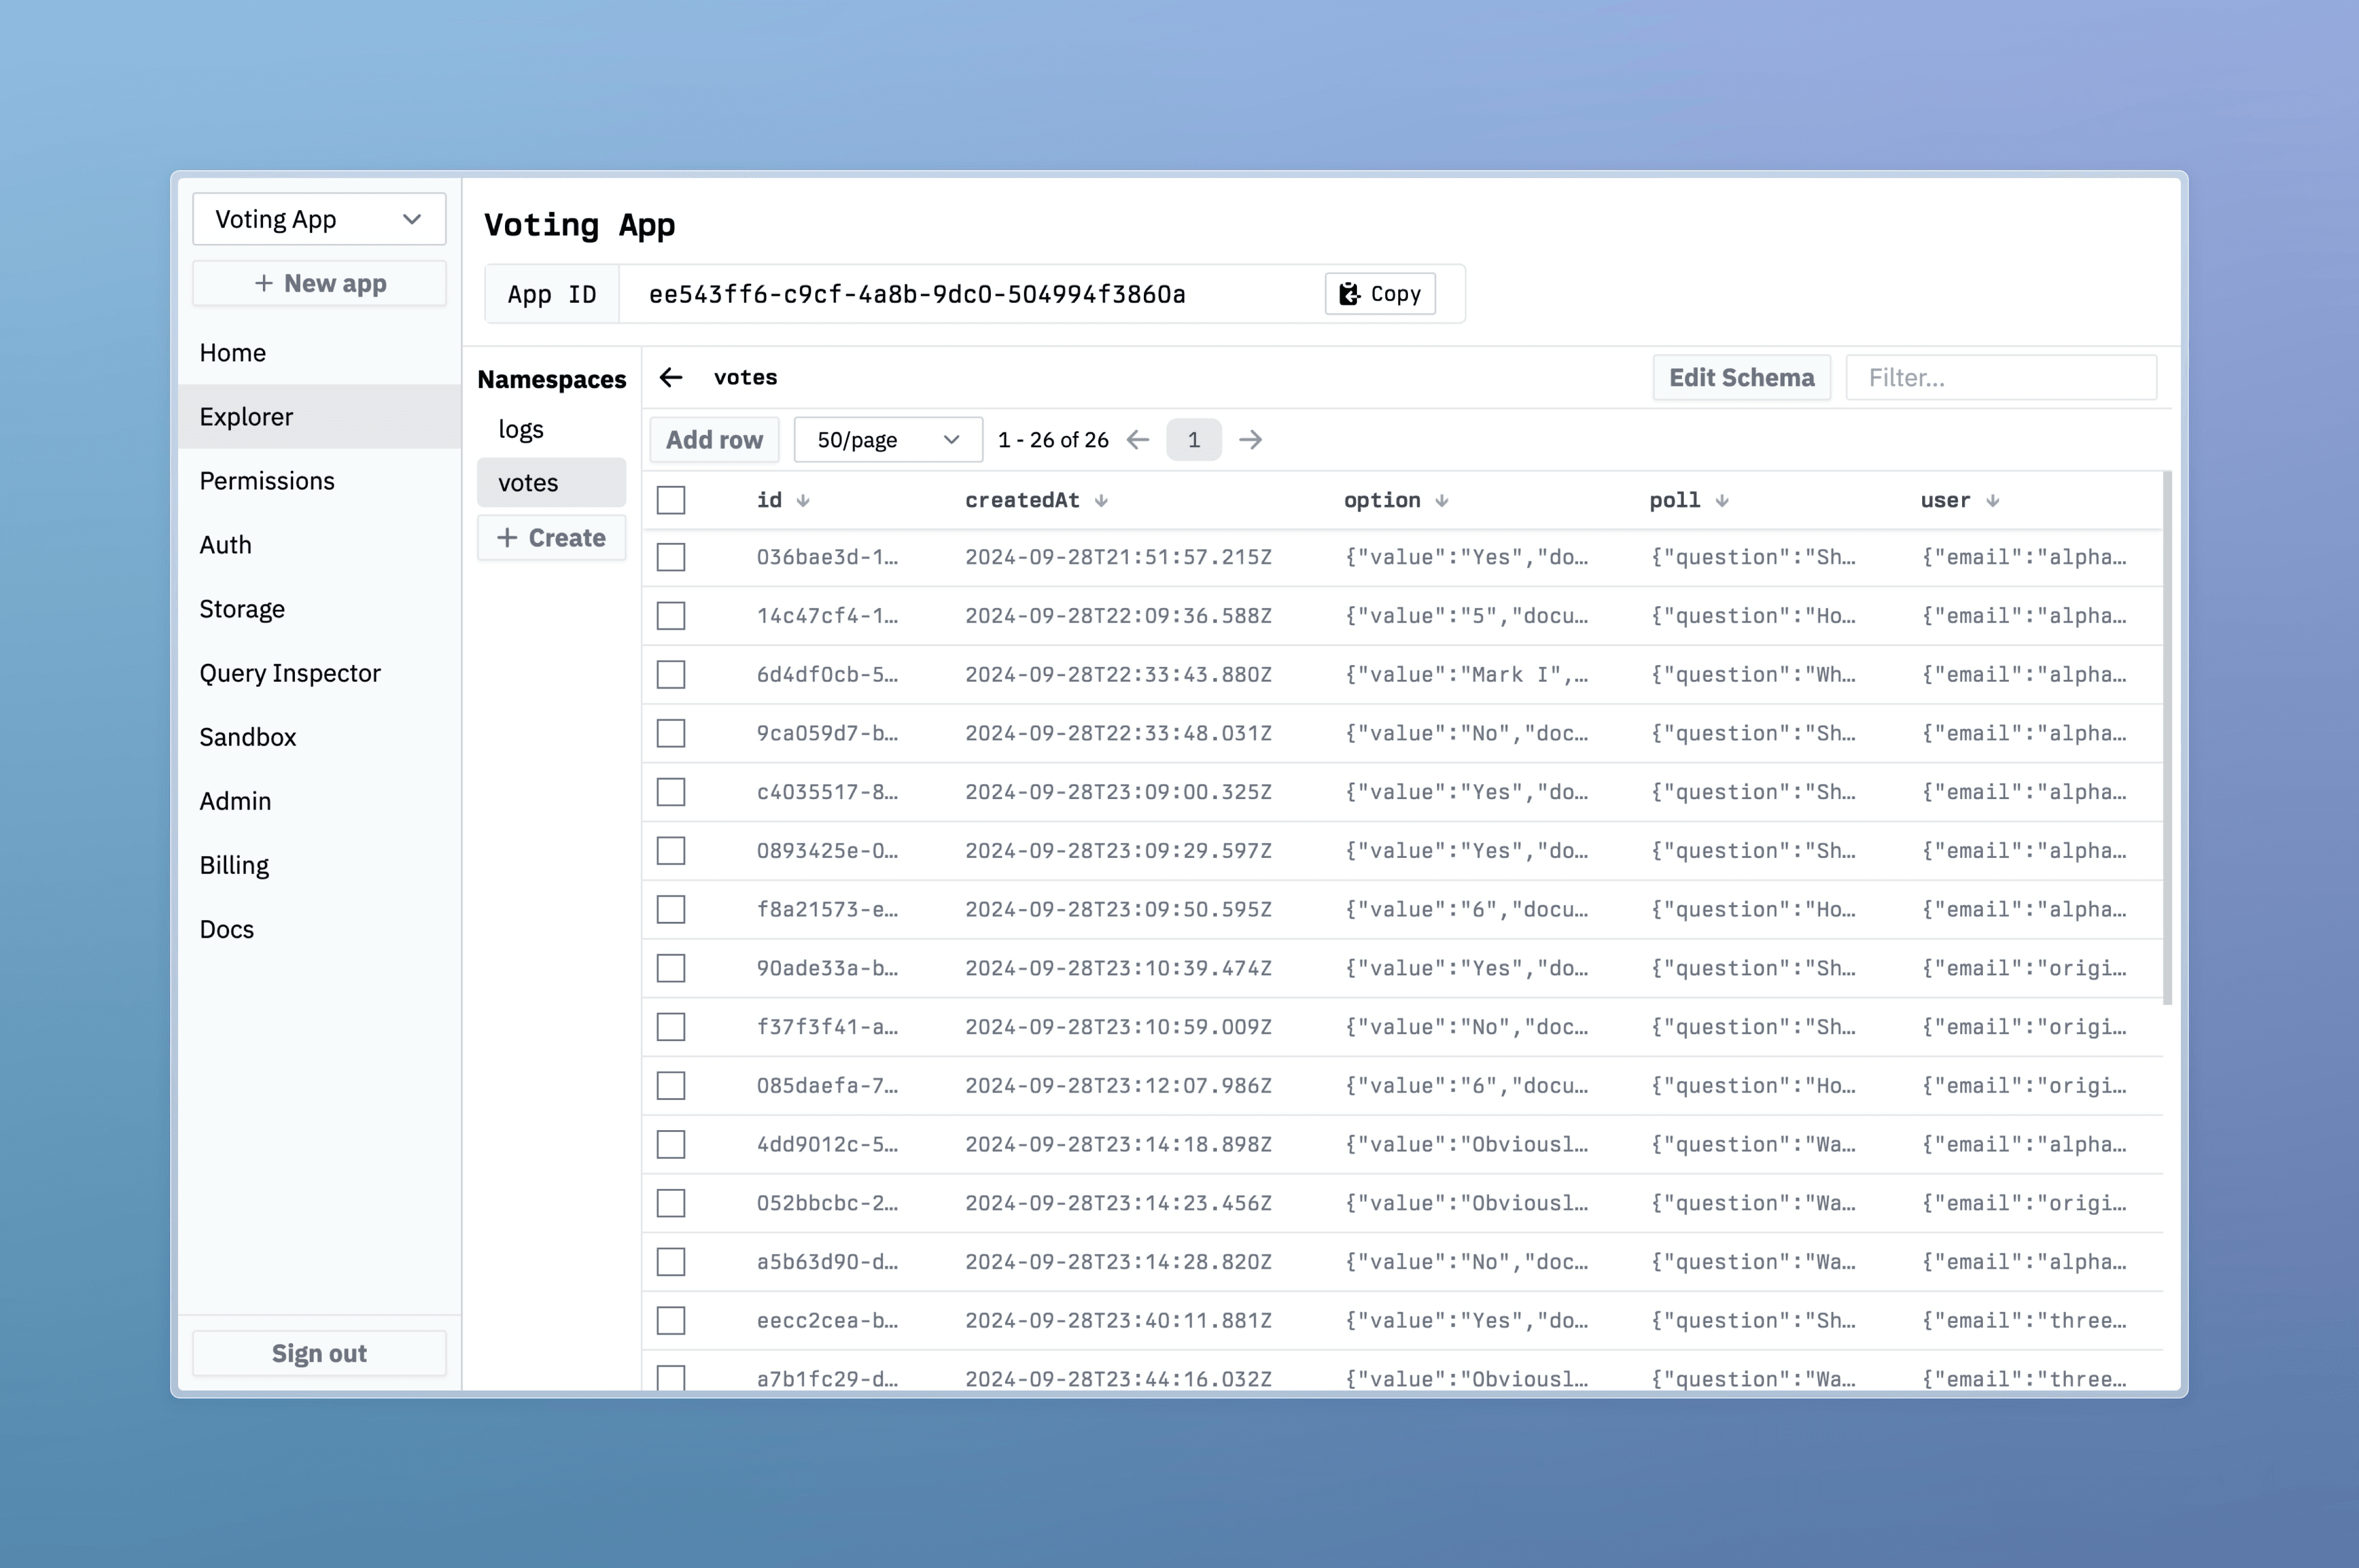
## Conclusion
So far, we've been able to set up our Strapi backend by creating our collection types and creating and registering custom middleware to extend Strapi 5 functionality to fit our needs.
We’ve also been able to set up Instant DB admin for creating real-time vote entries on behalf of authenticated users.
Next, we'll create the front end for our project where we'll be able to create polls, vote, and see the changes in real-time.
### Resources
- [Frontend source code on GitHub](https://github.com/miracleonyenma/votes-client)
- [Backend source code on GitHub](https://github.com/miracleonyenma/votes-api)
- [Live preview hosted on Netlify](https://tryvotes.netlify.app/)

SOCIAL SHARE CARD GENERATOR