



In this tutorial, we will create a new Airbyte connector from scratch using the Airbyte UI Connector Builder.
You'll learn:
- How to install Airbyte
- How to create a new connector from a third-party API
- How to set up data extraction
- How to connect with BigQuery
1. Installing Airbyte locally
To install Airbyte locally on Ubuntu/MacOS, follow Airbyte's installation guide here.
You'll need Docker Desktop installed, then run these two commands:
Install abctl
curl -LsfS https://get.airbyte.com | bash -
Run Docker Desktop and then this line:
abctl local install
2. Weather API on Python
Before building our new connector, let's test the API and its parameters. For this tutorial, we'll use [WeatherAPI][https://www.weatherapi.com/]. You can create a free account and obtain an API key.
A sample of my Python script:
import requests


class WeatherAPI():


    def __init__(self, city, key, days):

        self.city = city,

        self.key = key,

        self.days = days


    def get_data(self):

        endpoint = 'http://api.weatherapi.com/v1/current.json'

        params = {

            'q': self.city,

            'days': self.days,

            'key': self.key

        }

        response = requests.get(endpoint, params=params)


        if response.status_code == 200:

            return response.json()

        else:

            return ValueError(f'Error fetching data from WeatherAPI. Error: {response.status_code}')
This WeatherAPI class takes a city, an API key, and the number of days for the weather forecast.
The expected JSON response:
{

    'location':

        {

        'name': 'Florianopolis',

        'region': 'Santa Catarina',

        'country': 'Brazil',

        'lat': -27.5833,

        'lon': -48.5667,

        'tz_id': 'America/Sao_Paulo',

        'localtime_epoch': 1742939659,

        'localtime': '2025-03-25 18:54'

        },

    'current':

        {

        'last_updated_epoch': 1742939100,

        'last_updated': '2025-03-25 18:45',

        'temp_c': 26.4,

        'temp_f': 79.5,

        'is_day': 0,

        'condition':

            {

            'text': 'Partly cloudy',

            'icon': '//cdn.weatherapi.com/weather/64x64/night/116.png',

            'code': 1003

            },

            'wind_mph': 6.3,

            'wind_kph': 10.1,

            'wind_degree': 178,

            'wind_dir': 'S',

            'pressure_mb': 1015.0,

            'pressure_in': 29.97,

            'precip_mm': 0.75,

            'precip_in': 0.03,

            'humidity': 74,

            'cloud': 75,

            'feelslike_c': 30.4,

            'feelslike_f': 86.7,

            'windchill_c': 22.2,

            'windchill_f': 72.0,

            'heatindex_c': 24.7,

            'heatindex_f': 76.4,

            'dewpoint_c': 20.6,

            'dewpoint_f': 69.1,

            'vis_km': 10.0,

            'vis_miles': 6.0,

            'uv': 0.0,

            'gust_mph': 10.2,

            'gust_kph': 16.4

            }

        }

}
3. Connector Builder
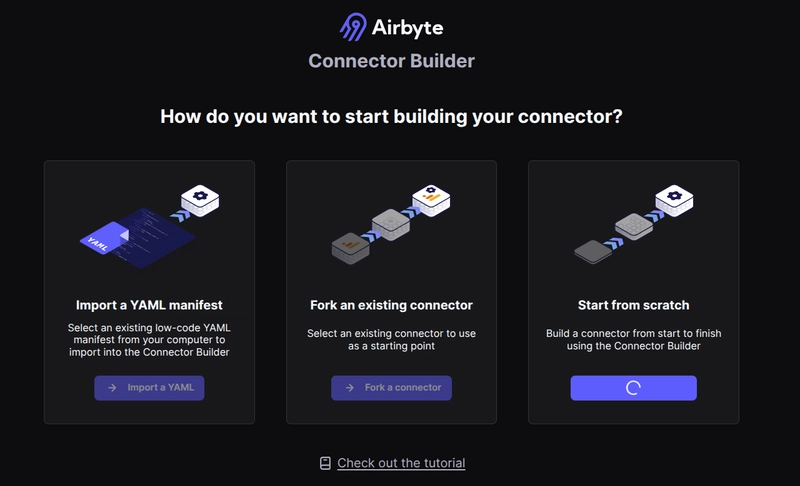
Access Airbyte and navigate to Builder → Start from Scratch.
1. Start from scratch
2. Global Configuration
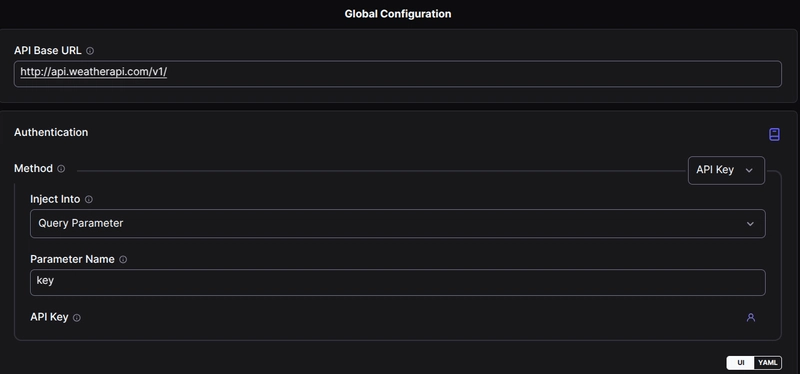
In API Base URL, paste the base URL of your API (excluding endpoint names).
For Authentication, choose API Key, select Query Parameter under Inject Into, and enter "key" as the parameter name. Different APIs have different authentication methods, so check the API documentation.
3. Stream
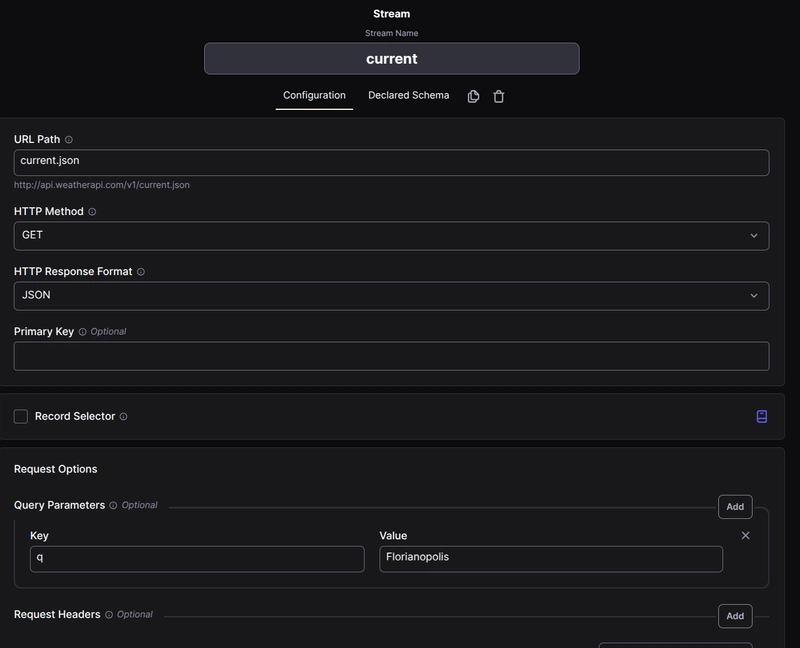
Create a new stream. In Airbyte, streams represent API endpoints. We'll use current.json and forecast.json from WeatherAPI.
In query parameters, add the required parameters. For this example, use q (location name) and set a default value, e.g., "Florianópolis".
4. Testing
Click Test to run the API request and check the response. If the response matches our expected JSON output, the configuration is correct.
Test different streams and parameters to validate everything.
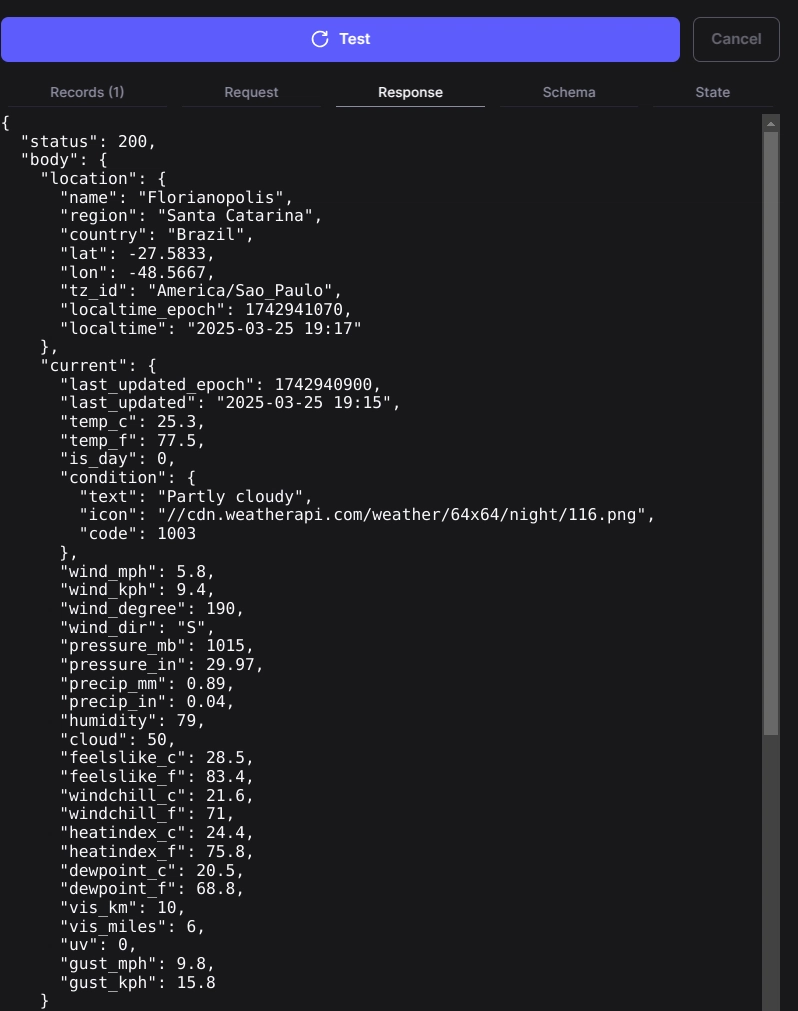
Once ready, click Publish.
Creating a new connection
Now that we have our source (the connector), we need to connect it to a destination. We'll use the Google BigQuery connector.
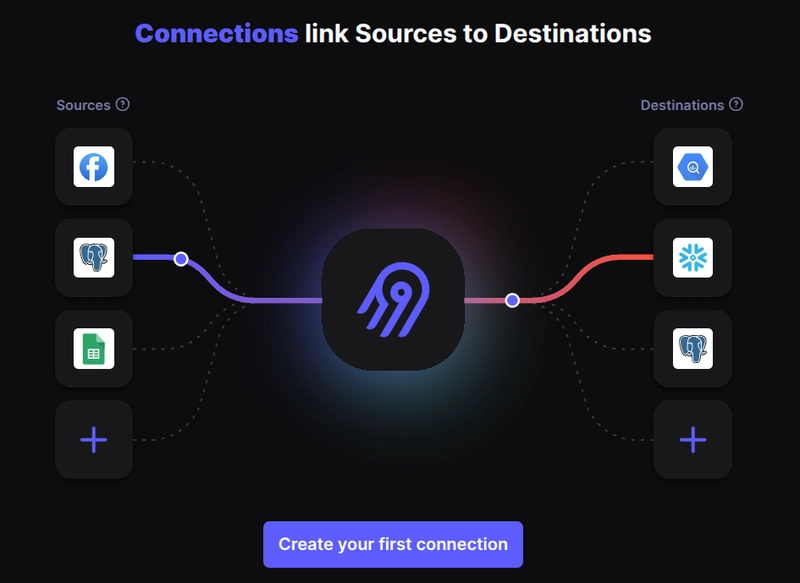
Click Create a new connection (or Create your first connection if it's your first time), then:
Select a source (our WeatherAPI connector)
Select a destination (Google BigQuery)
Click in "Custom" and select your source connector.
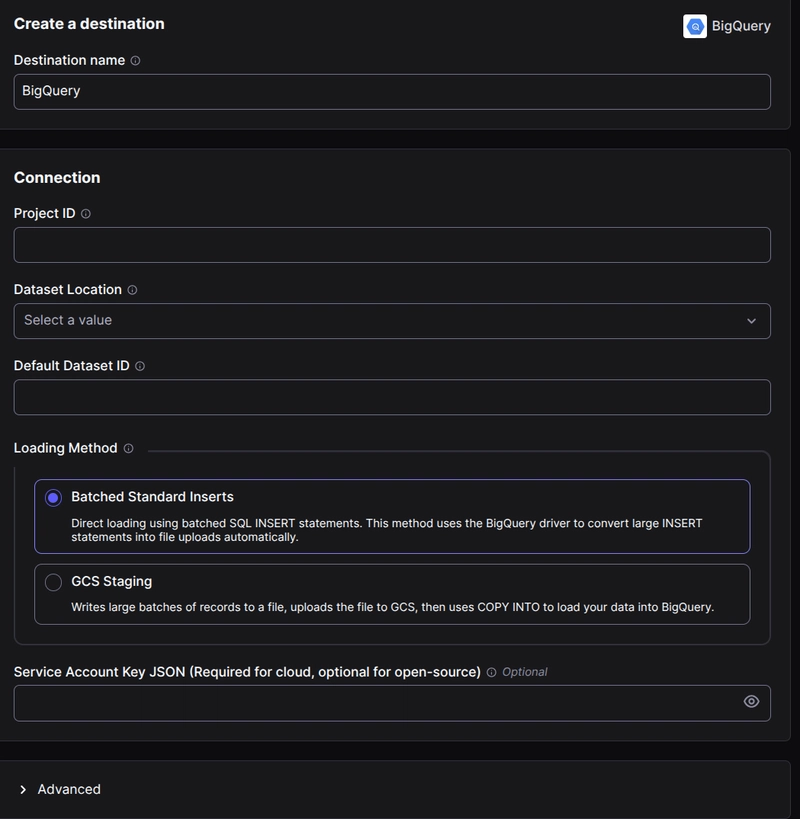
You can follow the guide from how to setup your Google BigQuery that Airbyte show to you.
- Project ID: Your Google Cloud project name
- Dataset Location: Region where you store data (e.g.,
us-east-1) - Default Dataset ID: it's the dataset name
- Loading Method: choose the one you prefer, I'll be selecting batched
- Service Account Key: Paste the JSON value of your service account
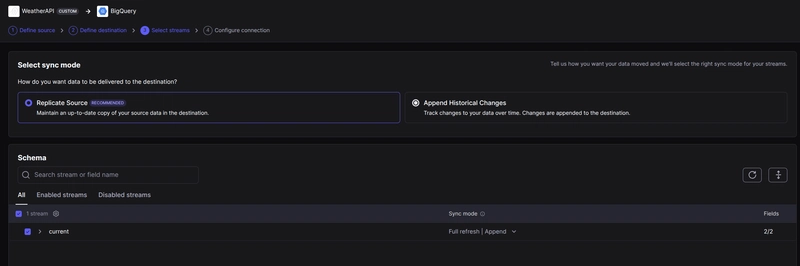
Select the streams you need to extract data. For sync mode, select the best that suits you. For our example, as I'm getting the current weather for each day that I request the data, I'll be doing a full refresh and appending data.
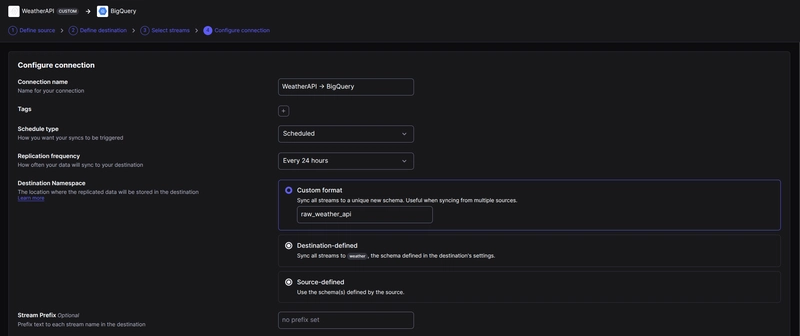
In this phase, you can give a better name for your connection. I'll be leaving the default option.
For schedule type, it's the time that the connection will run. As it's a current weather for daily forecast, I'll be leaving it as every 24 hours.
The destination namespace will change for the name conventions your company use. For example, if your company use the Raw -> Source -> Staging -> Mart convention, this would be something like raw_weather.
Click in finish and sync.
5. Sync your data
Airbyte will now run the first sync and load data into BigQuery (or another configured destination). This process may take time, depending on your dataset size.
Once completed, you can query your BigQuery dataset to verify the imported data.