



Hey Coders,
Long time ago...
Here we have a new article about how to add "superpowers" to your forms to add validations, errors and more.
As always we begin coding!!
1.- In your directory of your preference, open a terminal and run this code:
npm create vite@latest
2.- Remove existing code in App.jsx and add this code:
<h1>React Forms</h1>
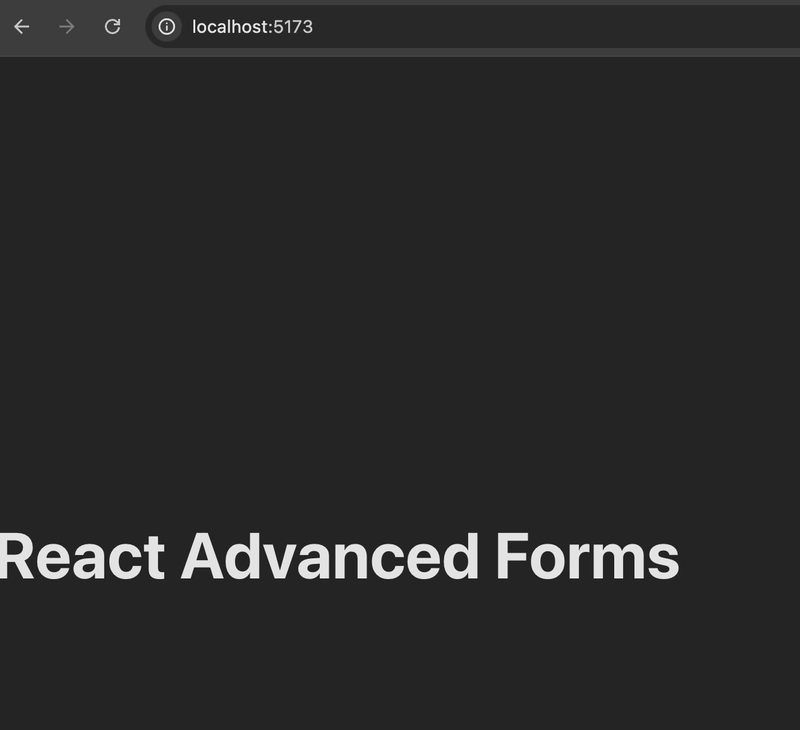
Here we have a cleaned solution to implement our small project!!
3.- Create a directory in src called forms and create a form.jsx and form.css with these code:
form.jsx
import React from 'react';

import './form.css';


export default function Form() {


  return (

    <div className="add-place">

      <div className="form">

        <form>

          <h1>Add Place</h1>

          <div className="form-field">

            <label htmlFor="title">Title: </label>

            <input

              type="text"

              placeholder="Title"

              name="title"

              id="title"

            />


          </div>

          <div className="form-field">

            <label htmlFor="description">Description: </label>

            <input

              type="text"

              placeholder="Description"

              name="description"

              id="description"

            />


          </div>

          <button type="submit">Add Place</button>

        </form>

      </div>

    </div>

  );

}
form.css
.add-place {

  display: flex;

  justify-content: center;

  align-items: center;

  height: 100vh;

  background-color: #1e1e1e;

  font-family: Arial, sans-serif;

  color: #e0e0e0;

  width: 100vw;

}


.form {

  background-color: #2c2c2c;

  padding: 2rem;

  border-radius: 8px;

  box-shadow: 0 0 15px rgba(0, 0, 0, 0.5);

  width: 100%;

  max-width: 400px;

}


.form h1 {

  margin-bottom: 1rem;

  font-size: 1.5rem;

  color: #f0f0f0;

}


.form-field {

  margin-bottom: 1.5rem;

}


.form-field label {

  display: block;

  margin-bottom: 0.5rem;

  font-weight: bold;

  color: #cccccc;

}


.form-field input {

  width: 100%;

  padding: 0.5rem;

  border: 1px solid #444;

  border-radius: 4px;

  background-color: #3a3a3a;

  color: #e0e0e0;

  font-size: 1rem;

}


.form-field input:focus {

  border-color: #6200ea;

  outline: none;

}


button[type="submit"] {

  width: 100%;

  padding: 0.75rem;

  border: none;

  border-radius: 4px;

  background-color: #6200ea;

  color: #fff;

  font-size: 1rem;

  cursor: pointer;

  transition: background-color 0.3s ease;

}


button[type="submit"]:hover {

  background-color: #3700b3;

}


.error {

  color: #FF6961;

}
The result will be:
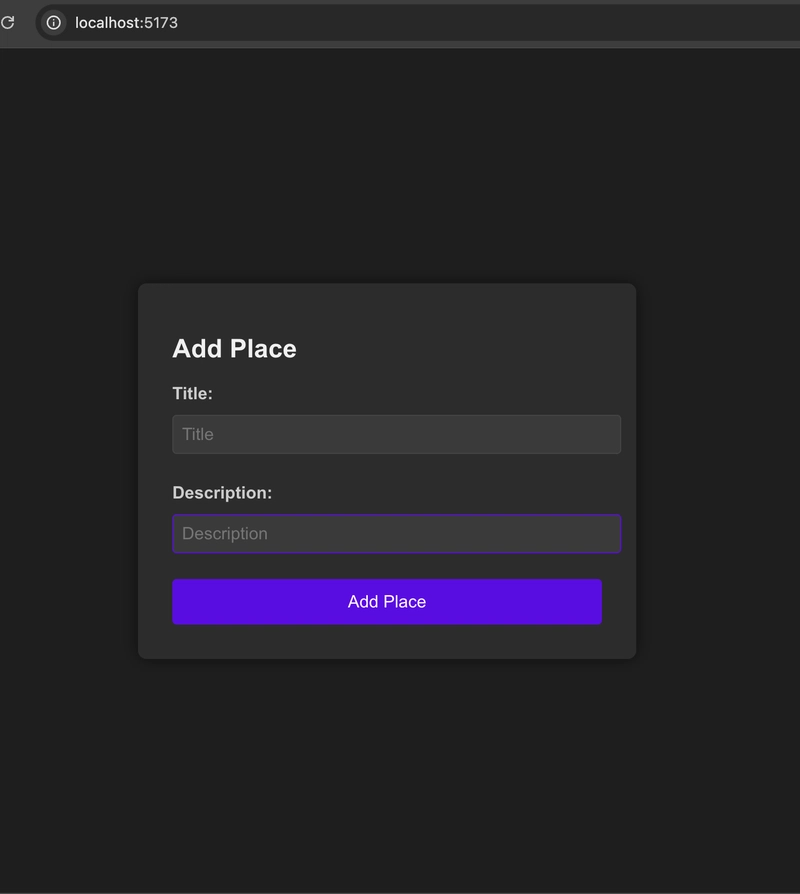
From this part, we have the something more interesting:
4.- Install react-hook-form, yup and resolver dependencies
npm install react-hook-form @hookform/resolvers yup
- Add the rest of the code to the form in react
- Add the imports:
import { useForm } from 'react-hook-form';

import { yupResolver } from '@hookform/resolvers/yup';

import * as yup from 'yup';
- Add the schema with validations, the resolver with the useForm where we add the register, handleSubmit, formState: { errors }
const schema = yup.object().shape({

    title: yup.string().required('Title is required'),

    description: yup.string().required('Description is required'),

  });


    const { register, handleSubmit, formState: { errors } } = useForm({

    resolver: yupResolver(schema),

  });
- The onSubmit function, where we can add the functionality after clicked in Save
const onSubmit = (data) => {

    console.log(data);

  };
- Finally, we add the {...register['title']} and the validation part in the html
<input

              type="text"

              placeholder="Title"

              name="title"

              id="title" {...register('title')}

            />

            {errors.title && <p className="error">{errors.title.message}</p>}
We should add the same for the description input
Finally the final result in form.jsx is:
import React from 'react';

import { useForm } from 'react-hook-form';

import { yupResolver } from '@hookform/resolvers/yup';

import * as yup from 'yup';

import './form.css';


export default function Form() {


  const schema = yup.object().shape({

    title: yup.string().required('Title is required'),

    description: yup.string().required('Description is required'),

  });


  const { register, handleSubmit, formState: { errors } } = useForm({

    resolver: yupResolver(schema),

  });


  const onSubmit = (data) => {

    console.log(data);

  };


  return (

    <div className="add-place">

      <div className="form">

        <form onSubmit={handleSubmit(onSubmit)}>

          <h1>Add Place</h1>

          <div className="form-field">

            <label htmlFor="title">Title: </label>

            <input

              type="text"

              placeholder="Title"

              name="title"

              id="title" {...register('title')}

            />

            {errors.title && <p className="error">{errors.title.message}</p>}

          </div>

          <div className="form-field">

            <label htmlFor="description">Description: </label>

            <input

              type="text"

              placeholder="Description"

              name="description"

              id="description" {...register('description')}

            />

            {errors.description && <p className="error">{errors.description.message}</p>}

          </div>

          <button type="submit">Add Place</button>

        </form>

      </div>

    </div>

  );

}
And there you go!!
We have our form validated:
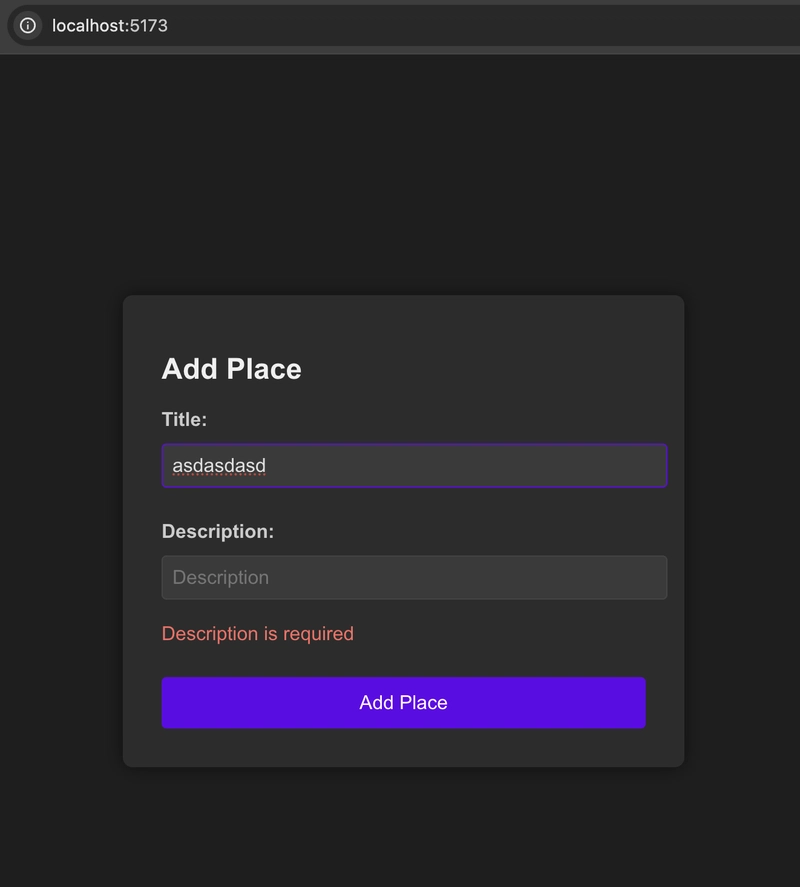
We try to save with no description, show the error message!
Let me know if you have some question or suggestion about this tutorial.
See you in the next episode!!! :)